

Before we started on our partners, we were given these two charts and had to work out what shape our partner's eyes were.
Our tutor did a tutorial showing us how to properly apply eye makeup. I set my products up on the makeup desk and taped up my sheets on the mirror.


I decided that my partner's were deep set eyes so I thought I would focus on quite neutral eyeshadow colours. I firstly put concealer around the eyes/eyebrows and eyelid area and set it with a loose white setting powder. I then placed the powder under the eyes to protect the face makeup under the eyes from any product downfall. After the concealer, I decided to go in with a white eyeshadow in the inner corner of my model's eyes, this would open her eyes and make them pop. I took a cotton pad and held just above her eyebrow and lifted her eyelid up slightly so it was easier to apply the eyeshadow to the lid. For the outer corner I applied a light brown eyeshadow. I didn't want the outer corner colour to be too harsh so I made sure the colour wasn't too dark. I found out that it is a lot easier if you hold your brush closer to where the hairs start as this makes it easier to blend and really get into the eye creases. I also learned to do both eyes at the same time, if you apply one bit of shadow somewhere on one eye, do the same on the other rather than finishing one eye and then starting the other as this makes it easier to stop any mistakes on the way rather than finishing and realising you need to start over.


The next step was to fill in the brows. I took a clean mascara wand and cleaned through the eyebrows and then used a medium brown eyeshadow as this was the perfect match to my model's eyebrows. To create the effect of real brow hairs, I used a small angled brush and took the longer angled side towards the front of the eyebrow with a small bit of product on and started lightly sweeping through the hairs. I kept to her natural shape and just enhanced the arch slightly. I then took another clean mascara wand and dipped it into my mascara asked my model to look straight ahead. It is easier if you ask your model to look straight ahead as you can then easily get to all the eyelashes. Start by pulling the mascara down, go up and then across until all the eyelashes are covered. It is also important to leave the mascara until last before sweeping away the powder as the product can still fall down. After you have completed the eye makeup, take a small kabuki or powder brush and sweep away any loose product left under the eyes.


The next step was to move onto the lips. Our tutor gave us a unique way of applying lipstick to a model's lips. Take an angled brush turn it on the side, start at the top line drag the lipstick down and continue all the way until all the top lip has been lined. When it comes to the bottom lip, start in the outer corners and drag the product into the centre of the lip.
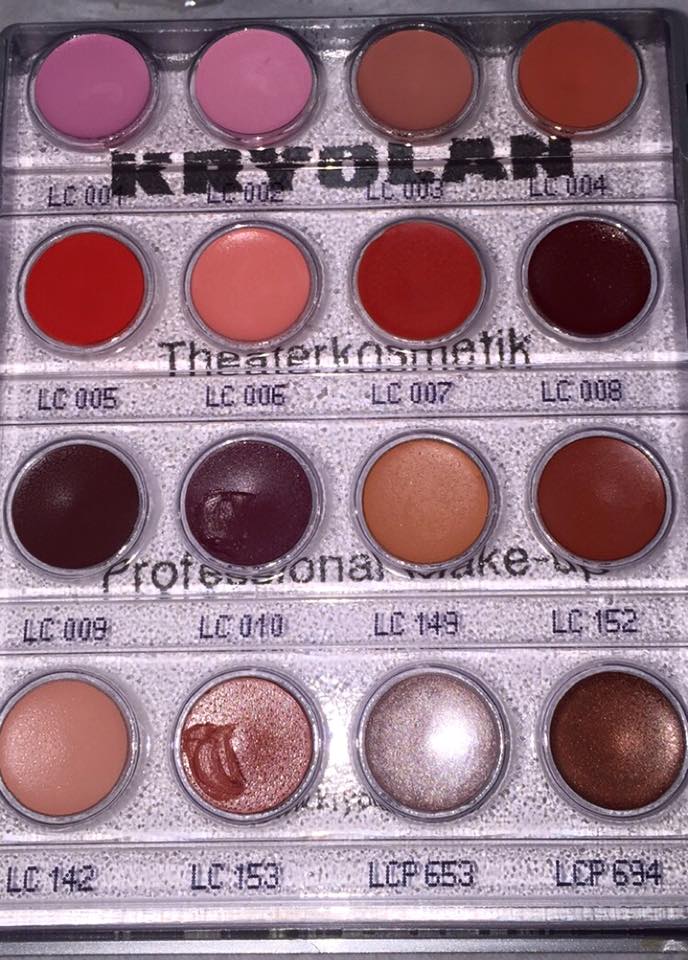
I mixed the colour on the bottom second from the left and the one above to create a dark reddish shade. I used a spatula to scrape out the product on to my clean hand and mixed them together. I then mix the product in with my angled brush, making sure the brush hairs were completely covered in the colour. I then went in with the technique I had learned from my tutor and applied the lipstick to my model's lips.


This was how the lipstick turned out on my model. She already had quite plumped lips so I didn't need to enhance them anymore. The colour also really suited her skin tone very well.
No comments:
Post a Comment